Aside from BB creams, I love doing DIY projects. Actually, during my wedding, my bouquet and my bridesmaids' bouquets were all made from paper and were all made by me (*proud smile*)
Here are some photos of my DIY bouquet:

 |
| This was mine :) |
But for now, I will be blogging about my do-it-yourself NOTEPADS. When I found out how to make my own notepad, it saved me a lot of money but the best part is, I was able to save a lot of paper.
Here are the things I use in make the DIY notepads:
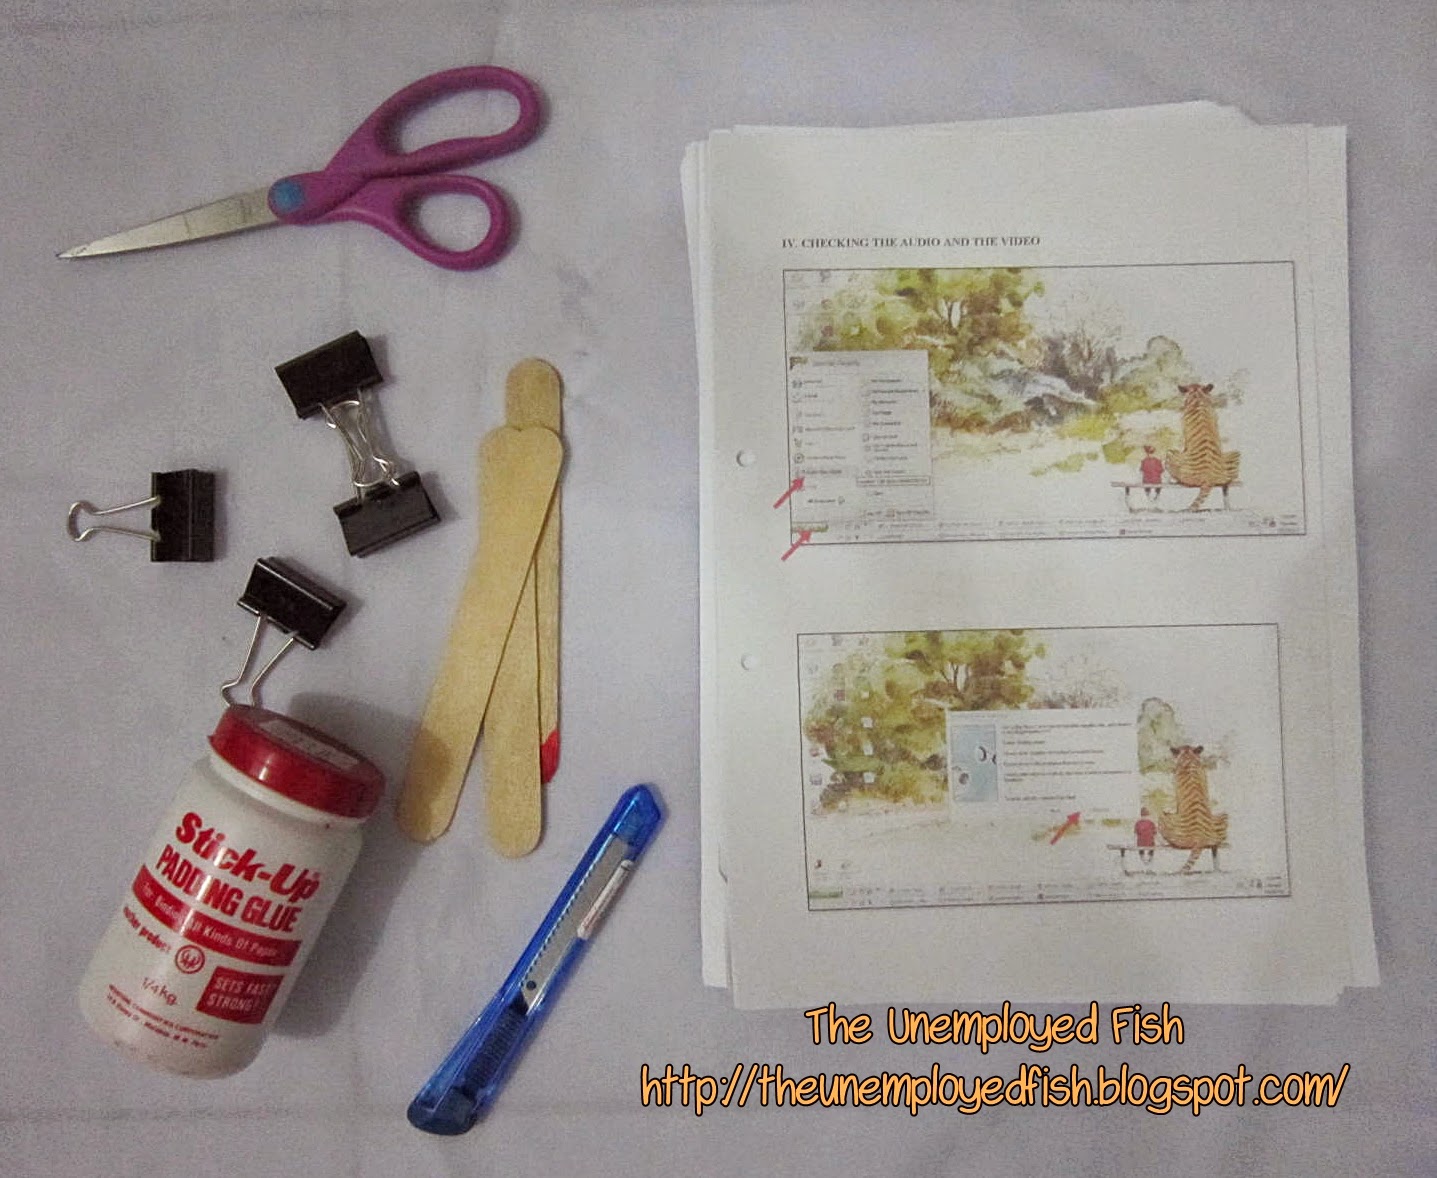
1. Used paper (I have a lot of those - all of them were from the office.)
2. Tongue depressor (I had those left over tongue depressor from my wedding. You can use any similar items such as ruler or Popsicle sticks.)
3. Huge Paper clips
4. Scissors (but I prefer using a cutter)
5. Padding glue
When I still trying to learn how to make notepads, I searched Google on kind of glue to use. It was my first time to hear the word PADDING GLUE so I tried to look at Ebay if I could find one. I thought that padding glue was just one of the stuff that you could only get from craft stores. Good thing that I stumbled on a blog and found out that padding glue is available locally - and you can buy it at National Bookstore!
The next day, I immediately went to National Bookstore to get some of this stuff.
Here's what the padding glue looks like:

Bad News: Unfortunately, this is already the 'smallest' one that they have. The next one is already 1kg. - yay! Too big!

Good News: It's cheap - only for PhP70.

Bad News: Comes only in RED. How I wish they had white or the transparent one.
And here's the simple tutorial on how to make your own notepad.
1. Cut the whole sheet of paper to your desired size of notepad.

2. Get those tongue depressor (or anything similar to it) and paper clips. Put them together this way.


Another alternative would be putting the pieces of paper on a table and placing heavy stuff like books over it.
 |
| Jeez. My drawing skills really sucks. |
3. Apply the padding glue. Wait 'til it dries. Patience is the key.


4. While waiting, let me show you some of the notepads I made. Not perfect though but still very useful for me.
 |
| My NAG NOTE |
 |


 |

5. And here's my notepad:


This DIY project really saved me money. I can now make my own notepad and even a personalize one.
No comments:
Post a Comment